Add Table from Import/URI/Data paste Specs
Danger
This spec is a starting point and has been through basic engineering and product reviews. It is not ready for implementation yet. It will have further updates and reviews before we are ready to start implementing this.
Context
Adding a new table from a file import allows users to input data into Mathesar without populating tables manually. This feature is also convenient for users who need to import data for testing Mathesar’s functionality.
Navigating to the Data Import page
Data import navigation link will be found on the active schema page. Once clicked the user will be taken to select upload method screen.
Importing data into a new table
Uploading the Data File
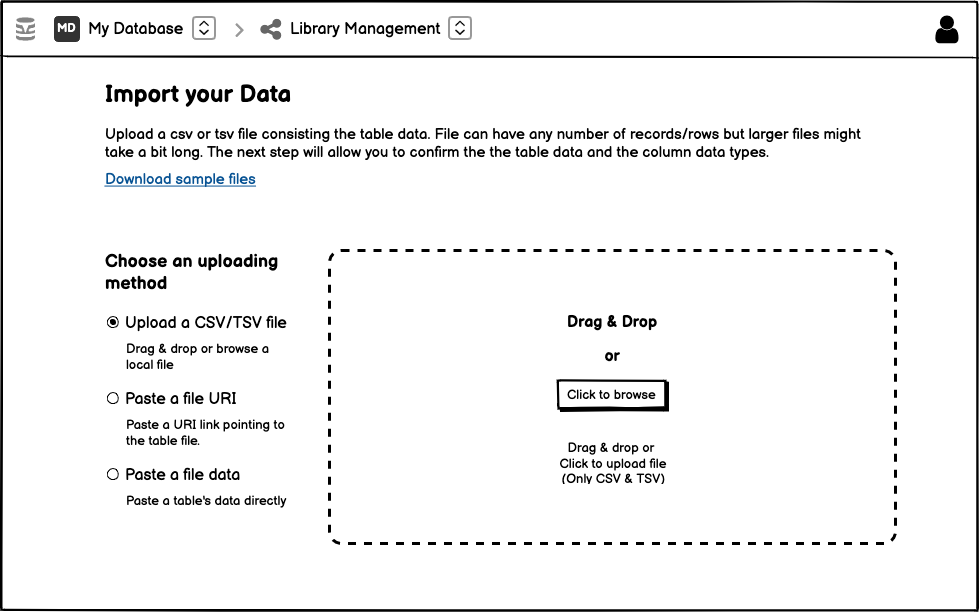
The import screen has a detailed description on what file types are allowed and information about processing and next steps.
Download sample files
There is a link for user to download sample files for reference of valid files to be uploaded.
Selection of an upload method
There are three radio buttons for selecting an upload method. Each radio button has a small description for the choice. Once the user select an option, the rectangular area on the right side has that respective upload method view.
Drag & Drop or Browse
Once the user selects this upload method, the user gets clickable area where the user can drag & drop a local file or click on it for browsing the file locally.
URI
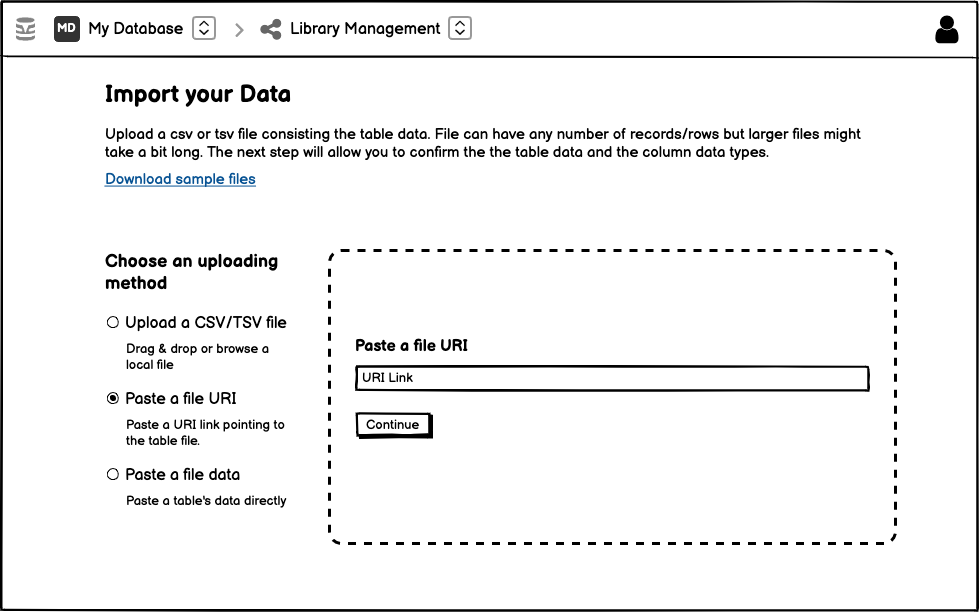
Once the user selects this upload method, the user gets an input text block for URI where they can paste valid URI and click on continue to upload the file.
Copy & paste data
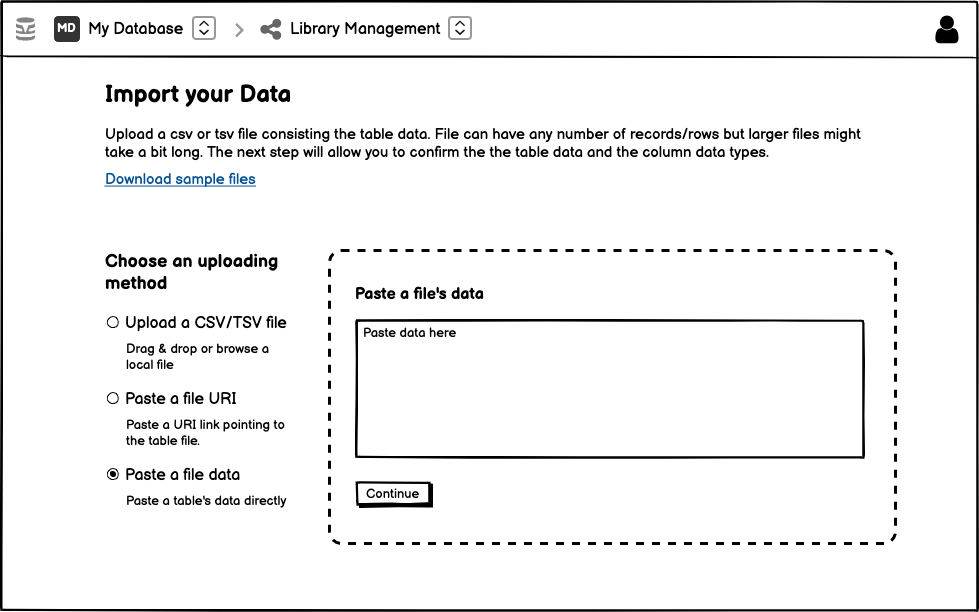
Once the user selects this upload method, the user gets a textarea to paste data for the table. Once the data is valid, the user can upload by clicking on the continue button.
Processing Uploaded File
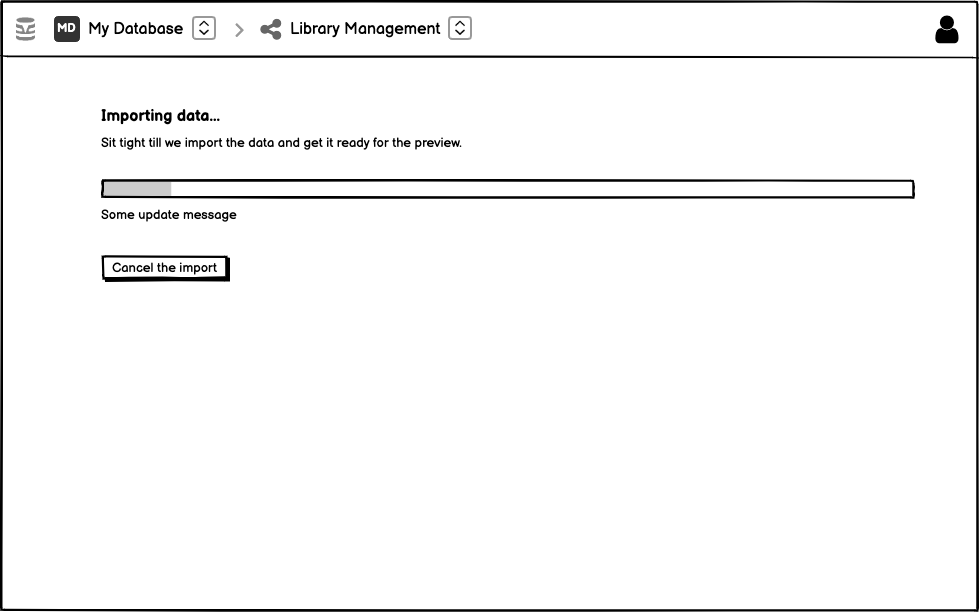
This is the stage where the uploaded file is processed. The user sees the progress and updates related to the import here.
Status Indicators
On the processing screen there is a progress bar which indicates where the upload and import process is. There will also be small messages below the progress bar to keep user informed about the process/status.
The user can also cancel the import by clicking on the cancel button. But the user will have to confirm the cancellation by the modal in the appropriate “Abandon scenario” below.
Errors
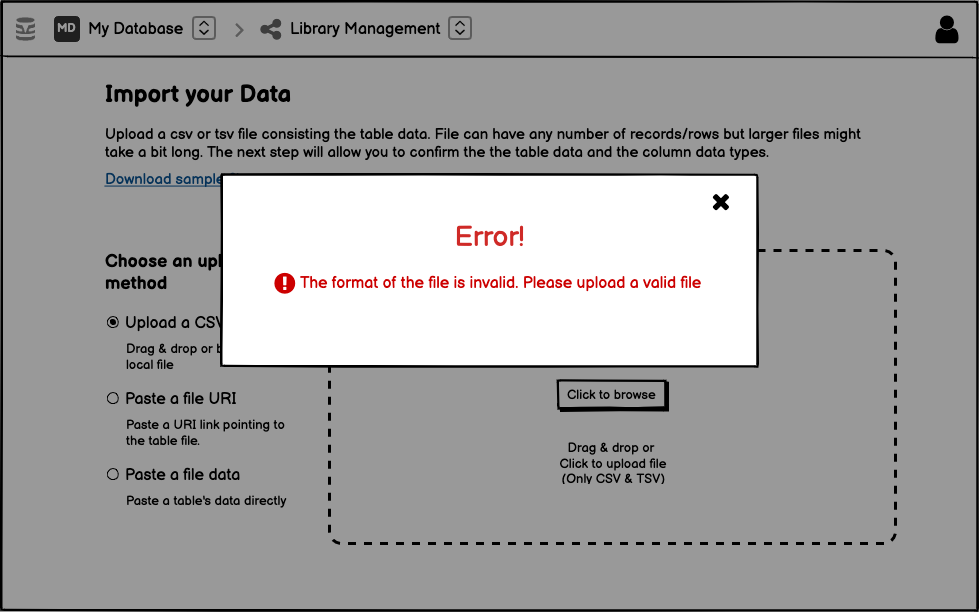
If there is any error in the import, the user will see an error message modal with the import screen in background. Cancelling the modal will take users back to import screen.
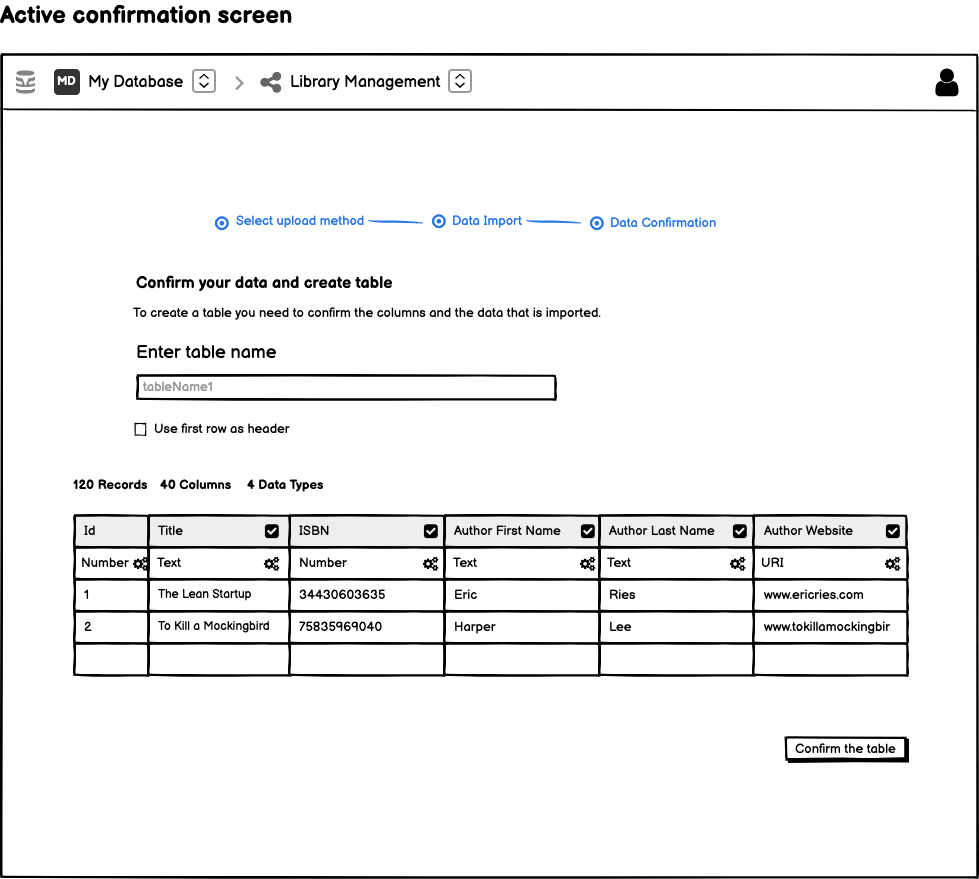
Confirmating the uploaded table
Components
Table name
The user can rename the table on the confirmation stage.
Use first row as header
This is a check box. If checked, the user can use the first row as the header.
Table summary
There is a small table summary above the table.
Table
The table’s first row are headers. This row has checkbox which is when checked the column is included in the table. The second row has the data type of the column.
Table height
Since multiple scrolls on the screen is a bad UX. I propose limiting table’s height to a certain percentage of the screen height. The percentage might be more clearer when we include styling part here. But as far as I think 25-35% of screen height for the table would suffice.
Changing data type
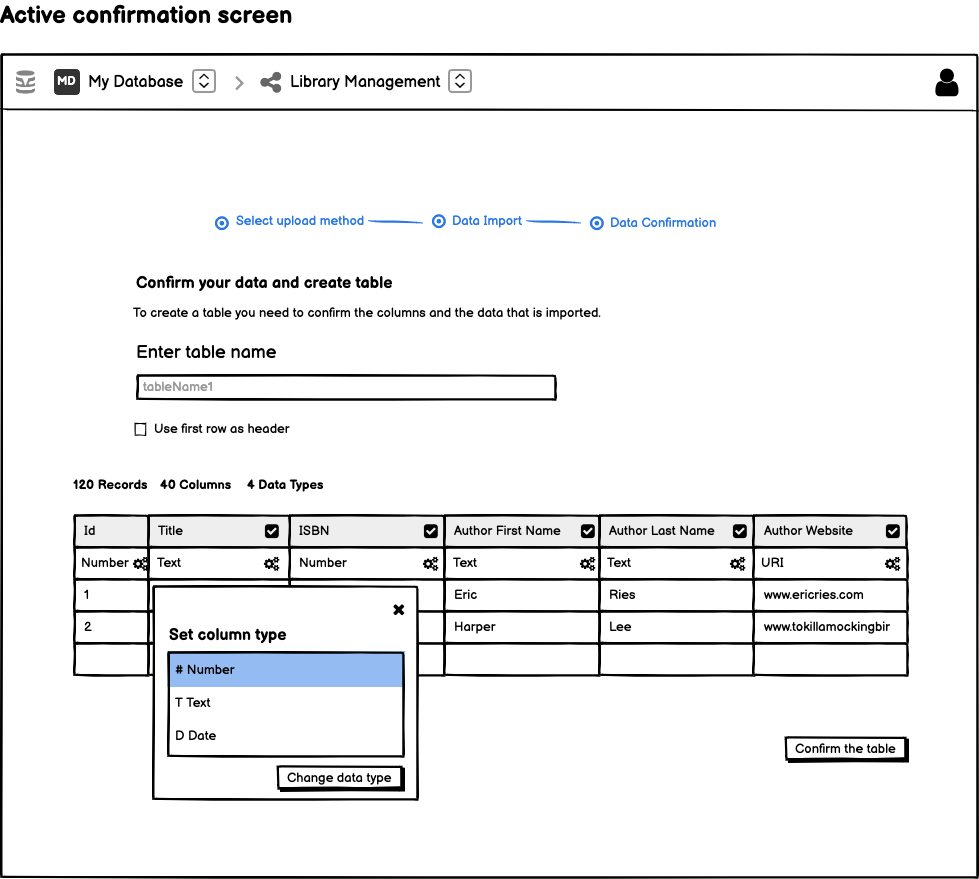
When the settings beside the data types is clicked, the user is presented with a choice of compatible data types. The compatible data types will be similar to the table view. The data options will not be available at this point.
Abandoning the import
The user can abandon import process at ceratin points in the journey.
Abandoning the import at processing stage
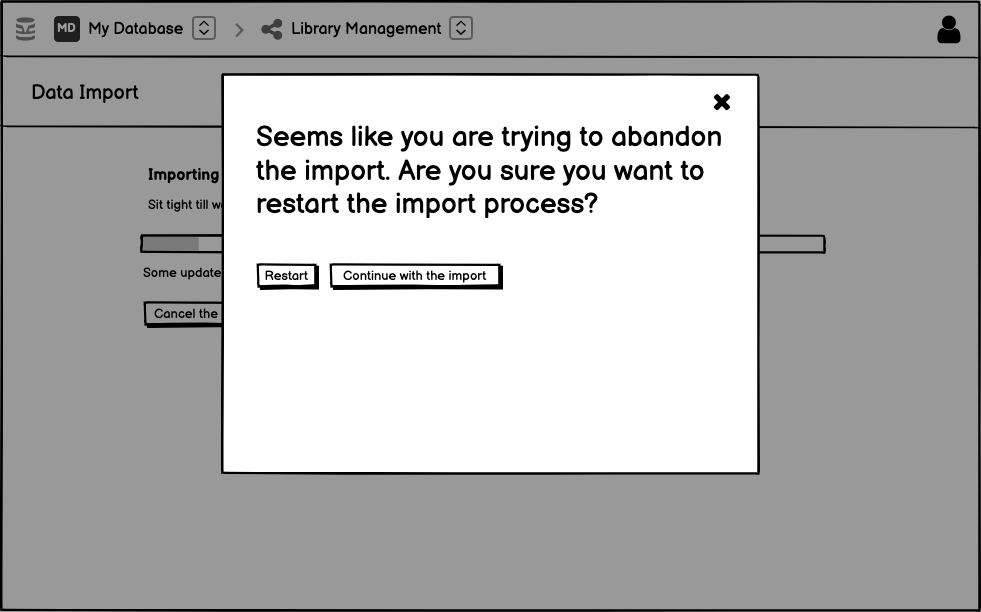
If the user abandons the import at the processing stage, the user will be given a warning in form of modal to notify that if they abandon this they will lose the file.
Abandoning the import at confirmation stage
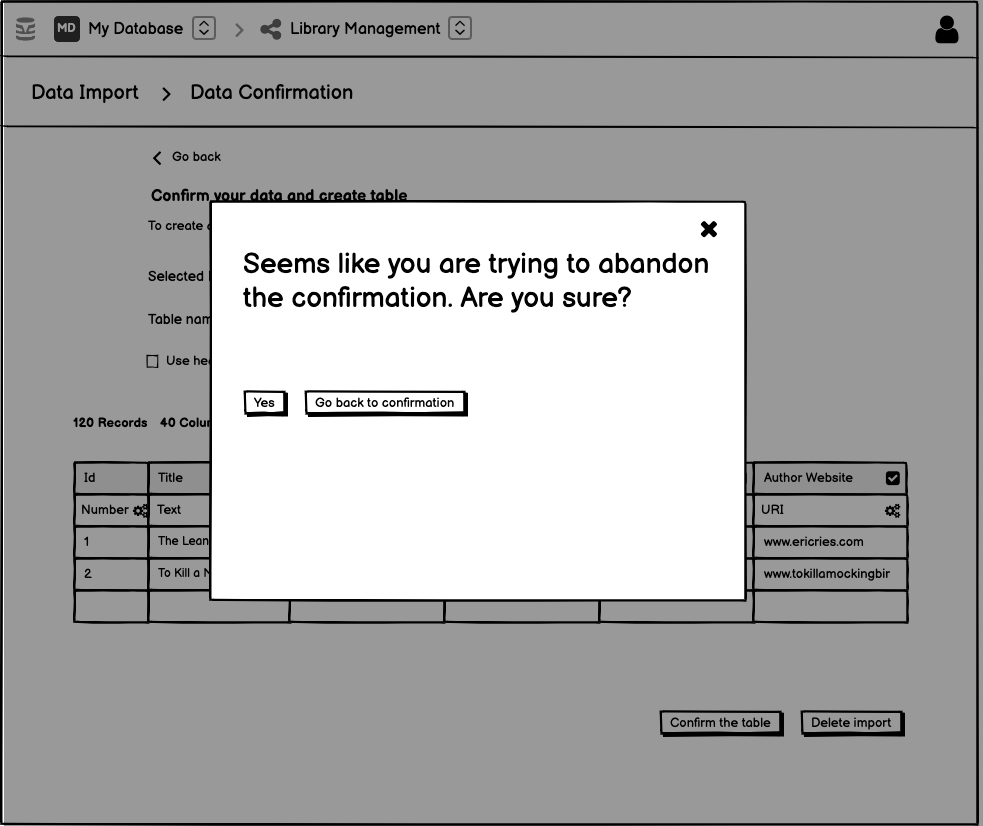
If the user abandons the import at the confirmation stage, the user will be given a warning in form of modal to notify that if they want to abandon it or not.
Uncomfirmed table on the schema page
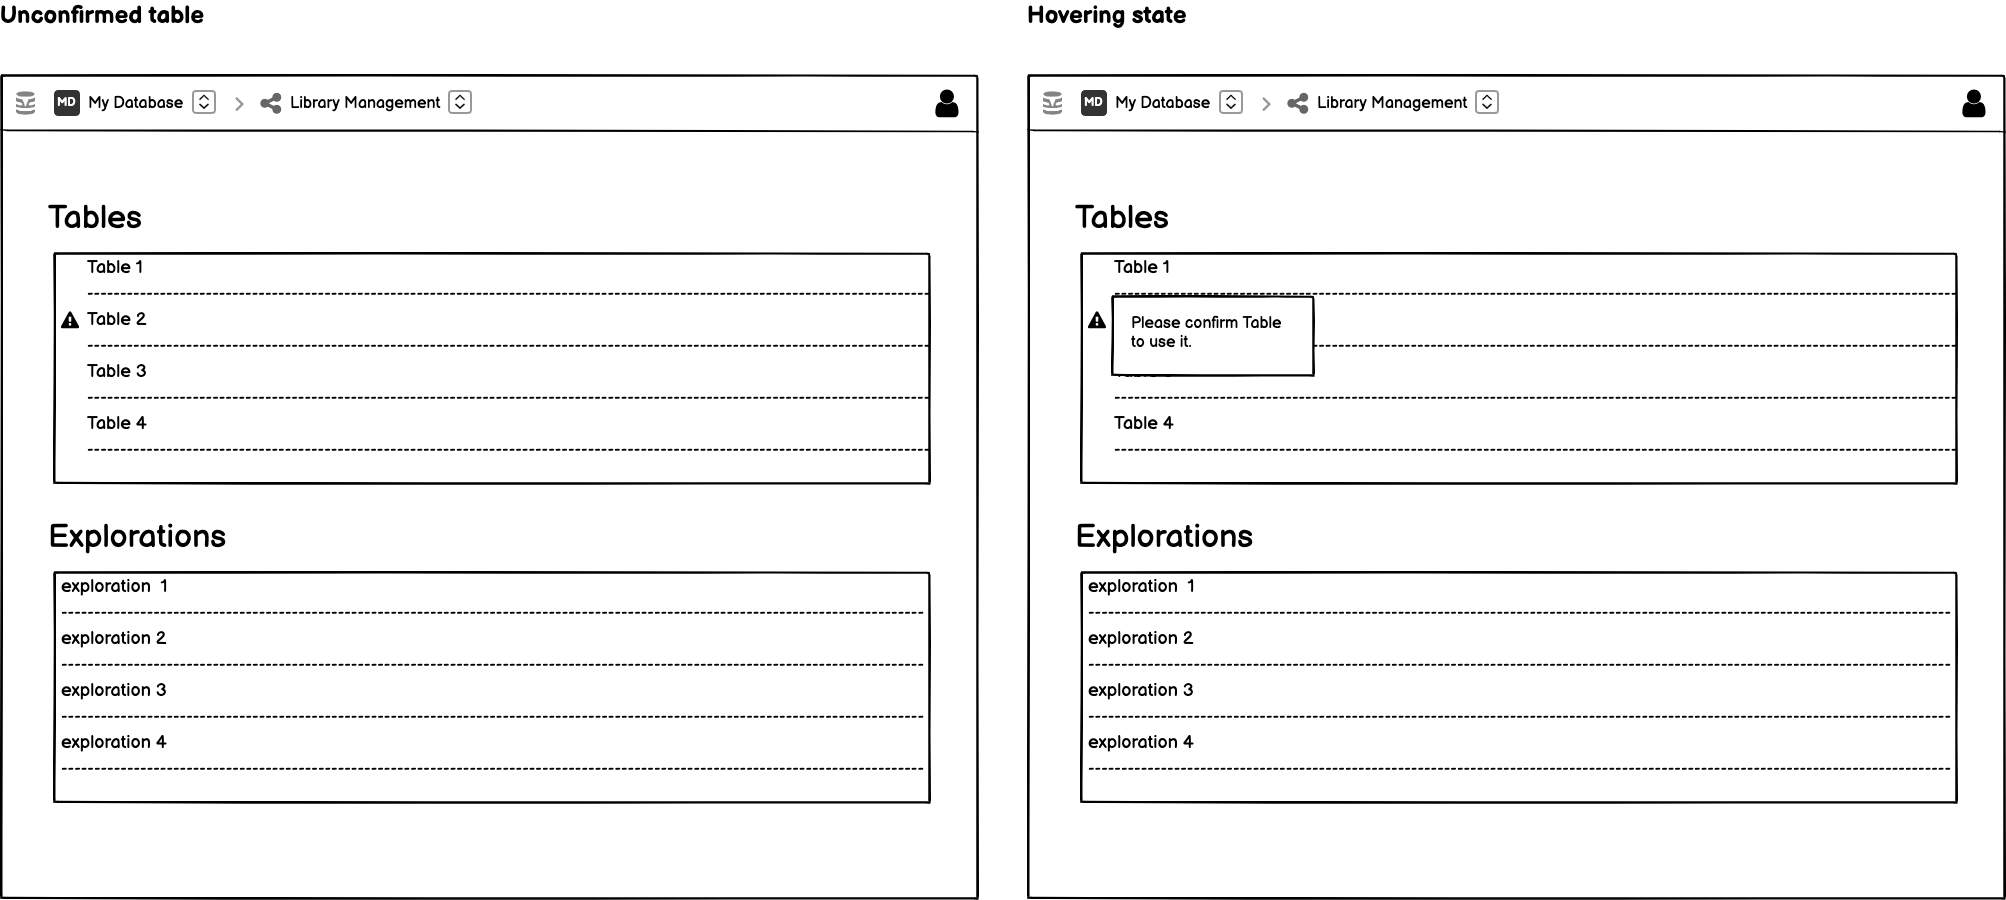
If the table is unconfirmed, there will be a warning icon on the side of table listing which when hovered on will have a confirm warning. When clicked on the table listing the user will be taken to confirmation stage.
Usage of an unconfirmed table
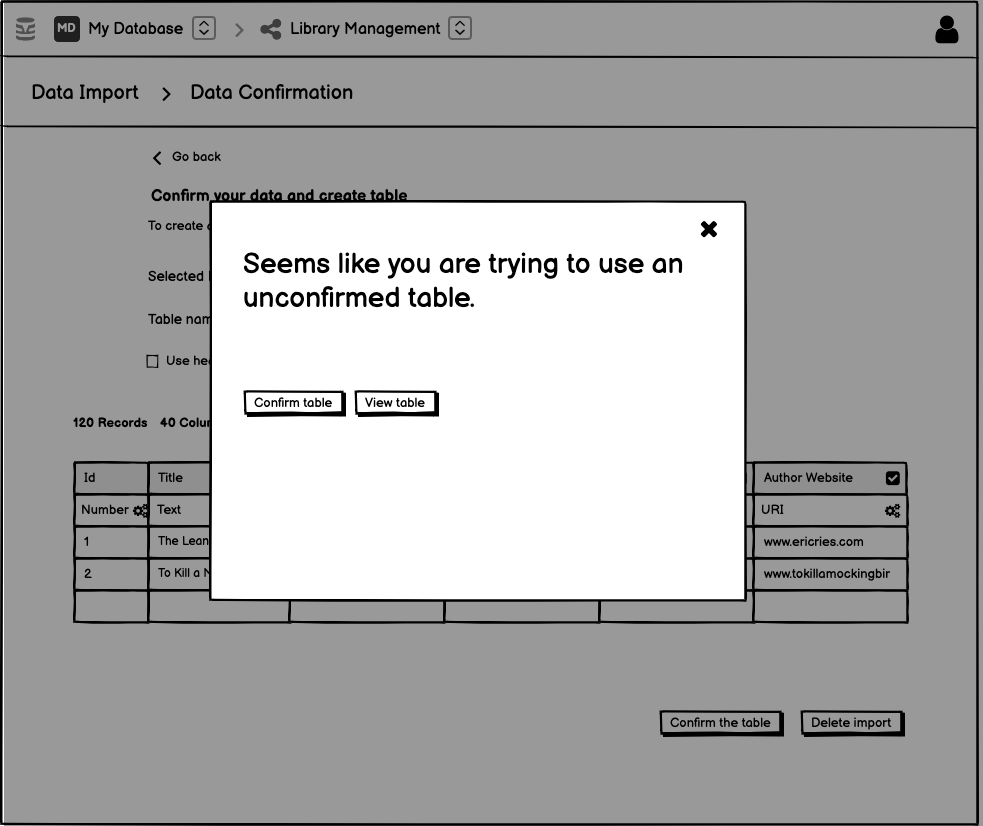
If the user tries to use an unconfirmed table, there will be a modal for confirming the table where the user can directly confirm the table or go to the confirmation view. They won’t be able to use it without confirming it.